Transforming a vintage wagon into a coffee table is a creative project that brings charm to your space. Start by selecting a sturdy wagon—wooden for rustic vibes or metal for something modern. You'll need crucial tools like a saw, drill, and sandpaper. Begin by disassembling your wagon, cleaning, and prepping the surface. As you design your table, think about added functionalities like storage. Once assembled, choose a finishing technique that complements your decor. Finally, decorate with cohesive themes and personal touches. Stick around, and you'll discover tips on maintenance and more ideas to improve your DIY project.
Selecting the Right Wagon
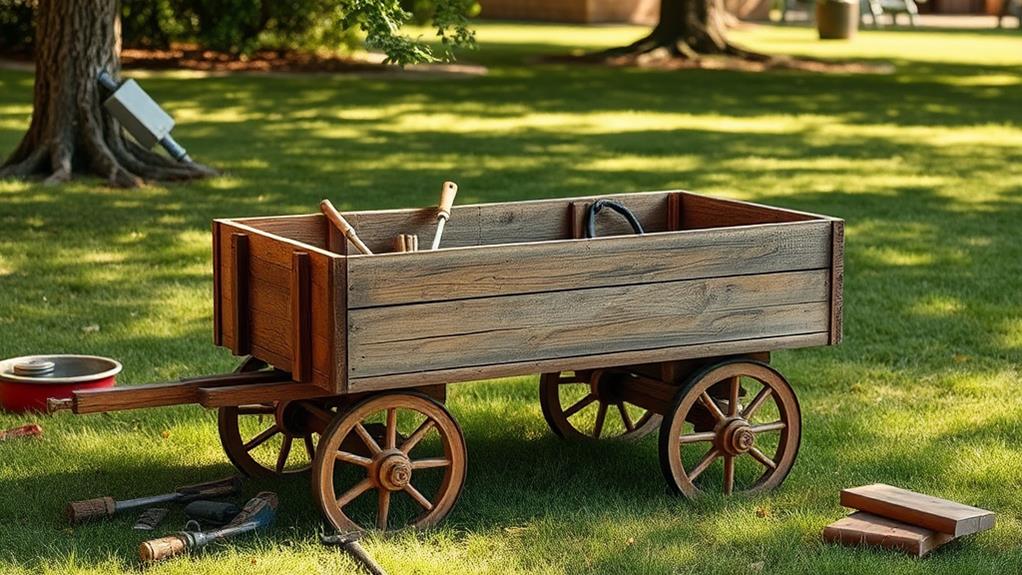
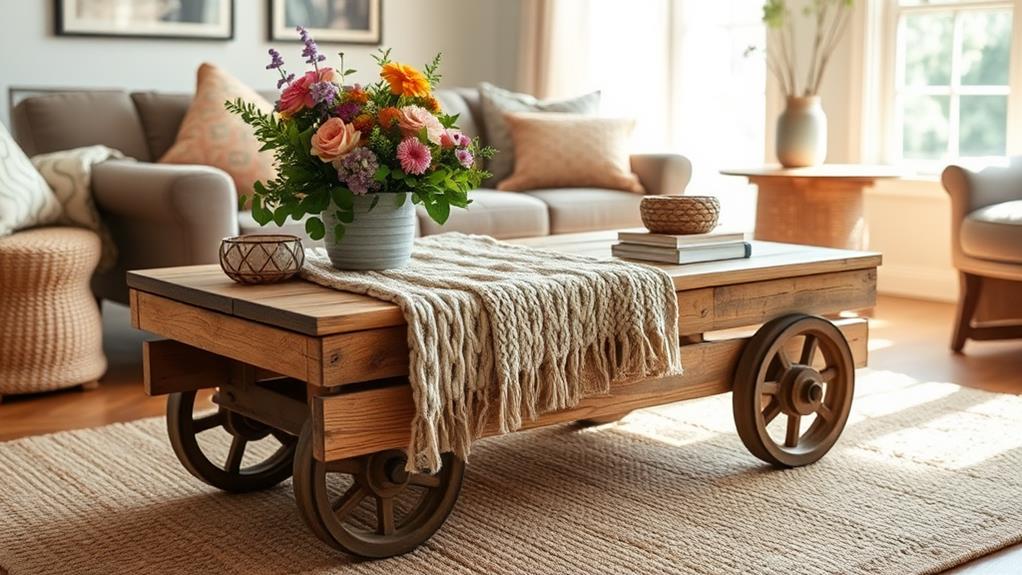
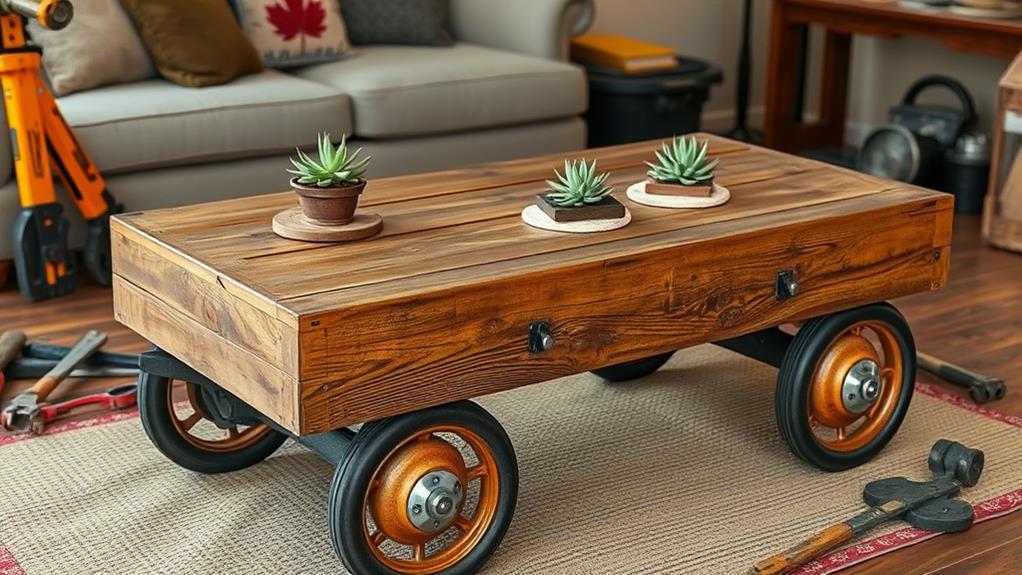
With regard to selecting the right wagon for your DIY coffee table conversion, you’ll want to narrow down your options to those that not just fit your aesthetic but are furthermore sturdy enough for daily use. Start by exploring various wagon types; wooden wagons often bring a rustic charm whereas metal ones offer a sleek, modern vibe. When considering vintage styles, look for unique designs that tell a story—these can be conversation starters in your living space. Additionally, ensure that the wagon’s base is level and strong enough to support a tabletop surface without wobbling. Some easytopull garden carts can also be repurposed creatively, offering both durability and mobility for a functional yet stylish coffee table. Don’t forget to check the wheels—locking mechanisms can help keep your table stable when in use.
Check the condition of the wagon carefully; you'll want a solid frame and intact wheels. Keep in mind that some vintage wagons may need a little TLC to restore their original glory, so factor in any repairs when choosing your piece.
Don't forget to think about size, too. A wagon that's too small might not serve your needs, whereas one that's too large could overwhelm your space. It's all about balance. Ultimately, the right wagon will not just complement your decor but will serve as a functional coffee table that can handle everyday wear and tear. Enjoy the freedom of creativity as you transform your chosen wagon into a stunning centerpiece for your home!
Tools and Materials Needed
Before you start your wagon-to-coffee table project, you'll need a few vital tools and materials to get you going. It's critical to choose the right materials for durability and aesthetics, as well as ensuring you have safety equipment on hand to protect yourself during the process. Let's take a closer look at what you'll need to make this transformation a success.
Essential Tools Overview
Gathering the right tools and materials is vital for a successful wagon-to-coffee table conversion. To explore this furniture repurposing project, you'll need a few basics. First, grab a good-quality saw—either a miter saw or a jigsaw works well for cutting wood. A drill is also a necessity for assembling your pieces; it'll help you attach legs and any additional features you dream up.
You'll want measuring tape and a square to confirm everything lines up perfectly. Sandpaper or a power sander will smooth out any rough edges, paying homage to your wagon's history while giving it a refined finish. Don't forget wood glue and screws—they're critical for sturdy construction.
Material Selection Tips
When selecting materials for your wagon-to-coffee table conversion, consider the type of wood you'll use. Different wood types can drastically alter the table's look and durability. For a rustic feel, reclaimed wood is a fantastic option; it adds character and history. If you prefer a more refined appearance, hardwoods like oak or maple offer strength and beauty.
Next, think about finish options. The right finish not only improves the wood's natural beauty but also protects it from spills and scratches. A matte finish gives a modern touch, whereas a glossy finish can make the colors pop. If you're going for a vintage vibe, consider a distressed or weathered finish to emphasize that charming, lived-in look.
You'll additionally want to gather your tools—screwdriver, sandpaper, and a good quality wood adhesive are crucial. Don't forget to have a measuring tape handy to guarantee everything fits together seamlessly.
With the right wood type and finish options, you're on your way to creating a stunning coffee table that reflects your personal style as well as serving as a functional piece in your home. So, get ready to release your creativity!
Safety Equipment Importance
As you commence your wagon-to-coffee table project, prioritizing safety equipment is just as important as selecting the right materials. You don't want any mishaps to spoil your creative expedition, so investing in the right safety gear is crucial. Wearing the appropriate equipment not merely protects you but also boosts your confidence as you tackle your project.
Here's a quick reference table to help you understand the necessary safety gear:
| Safety Gear | Purpose | Project Precautions |
|---|---|---|
| Safety Goggles | Protects your eyes from debris | Always wear them when sanding or cutting. |
| Dust Mask | Prevents inhalation of dust | Use it when working with wood or paint. |
| Gloves | Protects your hands from cuts | Wear them when handling tools. |
Disassembling the Wagon
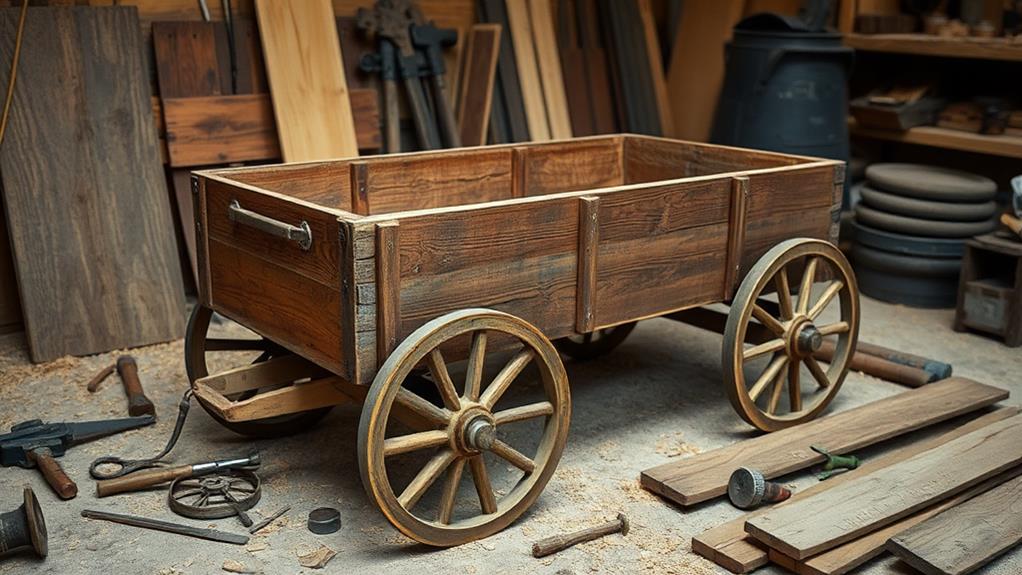
Before you start the conversion, you'll need a few tools to disassemble the wagon easily—think screwdrivers, pliers, and possibly a wrench. Begin by carefully removing any screws and bolts, keeping track of them for later reassembly. Follow this step-by-step process to guarantee everything comes apart smoothly without damaging the parts you'll be using for your coffee table.
Tools Needed for Disassembly
To successfully disassemble your wagon, you'll need a few essential tools that will make the process smoother and more efficient. First, gather a variety of wrench types—both adjustable and socket wrenches. These will help you tackle the nuts and bolts holding the wagon together. Having several sizes on hand will guarantee you can fit any fastener without frustration.
Next, grab an assortment of screwdriver sizes. You'll likely encounter both Phillips and flathead screws, so a multi-bit screwdriver can be a lifesaver. It'll save you time and energy, allowing you to switch bits quickly as you work through different components.
Don't forget a sturdy pair of pliers; they can be invaluable for gripping and twisting stubborn parts. If you have a pry bar, it'll come in handy for separating pieces that are stuck together. Finally, a utility knife is great for cutting through any rope or fabric that may be attached to the wagon.
With these tools ready to go, you'll be well-equipped to start the disassembly process and on your way to transforming that wagon into a unique coffee table!
Step-by-Step Process
Start by carefully flipping the wagon upside down, making certain it's stable and secure. You'll want to be cautious here; this is your first step toward creative repurposing. Next, remove the wheels and axles using your wrench. Set them aside; they might be useful for future projects or decor.
Now, detach the wooden slats from the base by unscrewing or prying them off gently. This process can be time-consuming, but taking your time will guarantee a smooth transformation into a functional design.
Here's a quick overview of the components you'll be dealing with:
| Component | Purpose | Future Use |
|---|---|---|
| Wheels | Mobility | DIY projects |
| Axles | Stability | Furniture support |
| Wooden Slats | Structural support | New tabletop |
| Frame | Base structure | Coffee table frame |
| Handle | Control | Decorative feature |
Once everything's disassembled, clean the parts thoroughly. This step is essential for achieving a polished finish on your new coffee table. Now you're ready to move on to the next phase of your project!
Preparing the Surface
How can you guarantee a smooth and attractive surface for your new coffee table? It all starts with proper surface preparation, ensuring your hard work shines through. Here's how to get it right:
- Clean the Surface: Remove any dirt, dust, or old finishes. You might use a mild cleaner or a damp cloth to wipe down the entire surface. This step is essential for adhesion when applying your chosen finish options.
- Sand the Surface: Grab some sandpaper (medium to fine grit) and sand the entire tabletop. Focus on any rough spots and edges. This step not just smooths the surface but additionally allows your finish to adhere better.
- Fill Gaps and Cracks: Inspect the wood for any gaps or cracks. Use wood filler to fill these imperfections, and once it dries, sand it down to blend seamlessly with the rest of the surface.
Designing the Coffee Table
Even though you might have a clear vision for your coffee table, translating that idea into a functional design requires careful consideration of both aesthetics and practicality. Start by gathering style inspiration that resonates with your home decor. Whether you lean in the direction of rustic charm, modern minimalism, or bohemian flair, let your preferences guide your choices.
Next, think about the functional features you want to incorporate. Do you need extra storage for magazines or remote controls? Consider adding a shelf or drawers beneath the tabletop. If you plan to use it for entertaining, make sure there's enough surface area for snacks and drinks. You can even create a removable tray for added convenience.
Assembling the Table
Once you've gathered all your materials and tools, assembling the table becomes an exciting step in your DIY project. This is where your vision starts to take shape! Begin by confirming the wagon's base is sturdy enough to support your new coffee table height. Next, follow these three steps for successful assembly:
- Attach the Tabletop: Secure the tabletop to the wagon frame using screws or brackets. Make certain it's level and sturdy—this will be the surface where you'll enjoy your coffee and conversations.
- Check Wheel Alignment: Verify that the wheels are aligned properly. You want them to roll smoothly for easy movement, but they should likewise be stable when you need the table to stay put. Adjust any uneven wheels as necessary.
- Final Stabilization: Once everything is attached, check for stability. If the table feels wobbly, add additional support underneath or adjust the wheel heights to achieve the perfect balance.
With these steps, you're one step closer to having a unique coffee table that reflects your creativity and adds character to your space. Enjoy the assembly process!
Finishing Touches
With your wagon coffee table securely assembled, it's time to add those finishing touches that will truly make it your own. Start by selecting your preferred finishing techniques. You can go for a classic wood stain to highlight the natural grain or a lively paint to express your personality. If you choose paint, consider a matte or satin finish for a modern look, whereas a gloss finish can add a touch of elegance.
Next, apply surface treatments to protect your table and improve its durability. A clear polyurethane or a penetrating oil can provide a tough layer against scratches and spills, guaranteeing your coffee table stands the test of time. When applying, use a brush or cloth to secure an even coating, and don't forget to let it dry completely between coats for the best results.
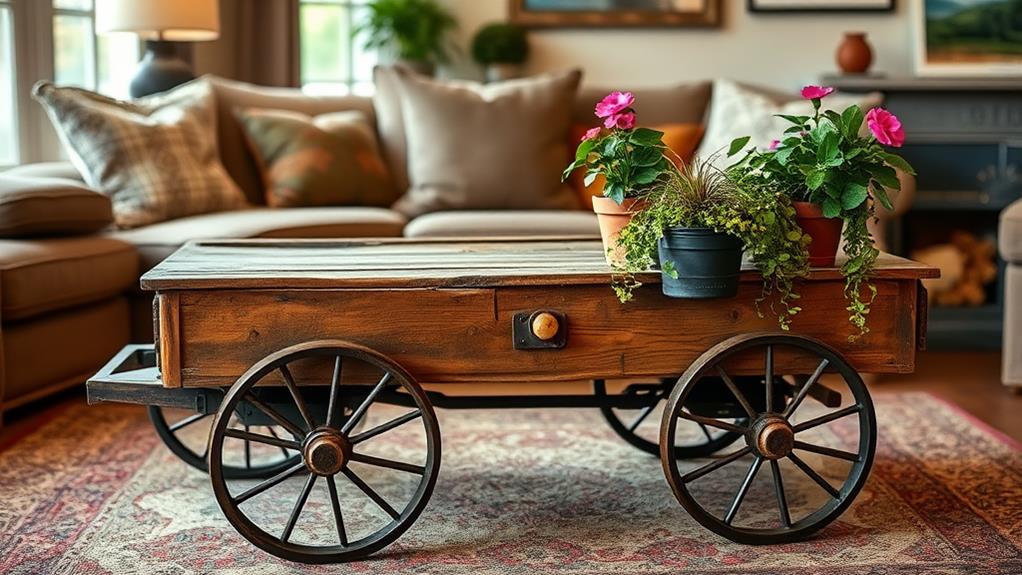
Decorating Your Coffee Table
As you plunge into decorating your coffee table, keep in mind that it serves not merely as a functional piece but similarly as a focal point in your living space. Effective table styling can transform your wagon-turned-coffee table into a stunning centerpiece. Here are three key steps to get you started:
- Choose a Theme: Decide on a theme that reflects your personality or matches your room's decor. Whether it's rustic, modern, or bohemian, keeping a cohesive style will improve the overall look.
- Incorporate Seasonal Decor: Don't shy away from seasonal accents! Use small pumpkins in the fall, festive ornaments during the holidays, or fresh flowers in spring. Changing these elements will keep your table feeling fresh and inviting.
- Layer Your Items: Use varying heights and textures to create visual interest. Stack books, place a decorative tray, or add candles. This layering not only adds depth but also provides functional spots for drinks or snacks.
With these tips, you'll create a coffee table that's not just beautiful but likewise a true reflection of your style, inviting friends and family to gather around.
Maintenance Tips for Longevity
To guarantee your wagon-turned-coffee table stands the test of time, regular maintenance is essential. Start with simple cleaning techniques; a soft, damp cloth is your best friend. Avoid harsh chemicals that can strip the finish or damage the wood. Instead, opt for a mild soap solution to tackle any spills or stains, ensuring you wipe it down quickly to prevent any lasting marks.
Next, consider applying protective coatings every few years. A good quality wood sealer or varnish will shield your table from moisture and the wear-and-tear of daily use. If you live in a humid area, it's especially important to keep the wood sealed to prevent warping.
Don't forget about the wheels! If your wagon has them, check that they're functioning properly. A little grease can go a long way in keeping them rolling smoothly.
Frequently Asked Questions
Can I Use Any Type of Wagon for This Project?
You can definitely use various wagon types for your project, but it's important to contemplate their design options. Some wagons, like wooden ones, offer a rustic charm, whereas metal ones add a modern touch. Just verify the wagon's structure is sturdy enough to support a tabletop. Reflect on your space and style preferences. With a little creativity, you can transform any wagon into a unique coffee table that reflects your personality and freedom of expression.
How Much Time Will the Entire Conversion Take?
In regard to time management, you know how the saying goes: time flies when you're having fun. The entire conversion process typically takes about 4 to 6 hours, depending on your experience level and the complexity of the conversion steps. If you plan ahead and gather your materials beforehand, you'll breeze through it. Just remember to take breaks; enjoying the expedition makes the finished product that much sweeter!
What Is the Best Finish for Outdoor Use?
When considering the best finish for outdoor use, you'll want to prioritize durability. Weather resistant stains are ideal as they not only improve the wood's natural beauty but additionally protect against moisture and UV damage. After applying the stain, seal the surface with a high-quality protective sealant to guarantee longevity. This combination keeps your project looking great during exposure to the elements, giving you the freedom to enjoy the outdoors worry-free.
Can Children Help With This DIY Project?
Absolutely, children can help with this DIY project! There are plenty of child-friendly tasks you can assign them. For instance, they can assist in sanding or painting, allowing for creative involvement as they develop their skills. Just make sure you supervise and provide age-appropriate tools. This experience not just makes the project more enjoyable but additionally promotes teamwork and creativity. Plus, it's a great way to bond and create lasting memories together!
Are There Any Safety Precautions I Should Consider?
When tackling any project, it's essential to take into account safety precautions. Always prioritize tool safety by using the right tools for the job and wearing protective gear like gloves and goggles. Pay attention to material handling; make certain you're lifting heavy items correctly to avoid strain. Keep your workspace organized to prevent accidents, and always supervise any young helpers closely. These steps will help you enjoy your project without unnecessary risks.