To replace your wagon tongue, follow these five steps. First, assess the current tongue for cracks and attachment wear. Next, gather the necessary tools and materials, including a socket set and suitable fasteners. Then, detach the old tongue by removing fasteners, ensuring the area is clear. After that, install the new tongue by aligning it with pre-drilled holes and tightening bolts as per specifications. Finally, test and secure the replacement by checking alignment and conducting a load test. Pay attention to these essential steps for a successful replacement, and you may discover further tips for enhancing your process. Additionally, consider applying a protective coating to the new tongue to prevent future wear and corrosion. Replacing your wagon’s tongue also presents an opportunity to inspect other connected components for possible maintenance needs. By taking these extra precautions, you can extend the longevity and reliability of your wagon.
Assess the Current Wagon Tongue

Before plunging into the replacement process, it is crucial to assess the current wagon tongue for any signs of wear or damage. Start by inspecting the entire length of the tongue for cracks, bends, or severe corrosion. These issues can compromise the structural integrity of your wagon and affect its performance on the road. Pay attention to the attachment points where the tongue connects to the wagon body, as these areas often experience stress and wear.
Consider the tongue design as well. Different wagons may have varying tongue designs that influence towing dynamics. For example, a straight tongue offers different handling characteristics compared to a curved one. Think about your specific needs and how they align with these design considerations during your assessment.
Incorporating these wagon maintenance tips into your routine not only extends the lifespan of your wagon tongue but likewise improves your overall towing experience. If you notice excessive wear or damage, it may be time for a replacement. Being proactive in this assessment guarantees that you maintain the freedom to transport loads safely and efficiently, allowing you to enjoy the open road without unnecessary concerns.
Gather Necessary Tools and Materials
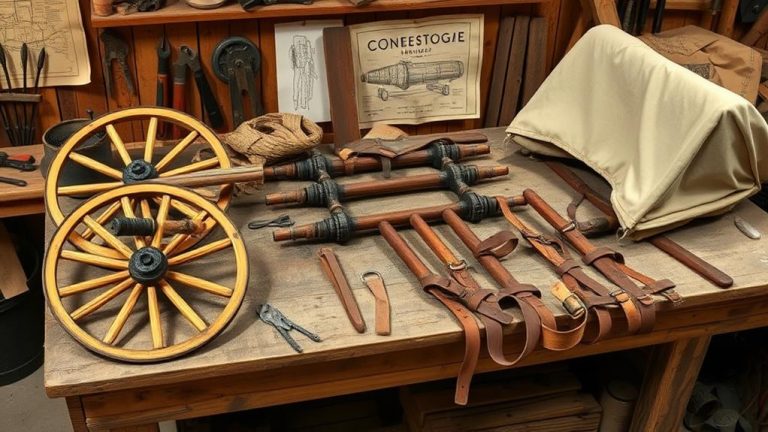
To guarantee a smooth and efficient wagon tongue replacement, you'll need to gather a specific set of tools and materials. First, focus on your tool selection. Crucial tools include a socket set, wrenches, a hammer, and a drill. These will help you remove the old tongue and secure the new one. Don't forget safety gear, like gloves and goggles, to protect yourself during the process.
Next, you'll need to contemplate material types for the new wagon tongue. Common choices are treated wood, steel, or aluminum, depending on your specific requirements. Treated wood offers durability and weight, whereas steel provides strength, making it ideal for heavy loads. Aluminum is lighter, enhancing maneuverability but may not carry as much weight.
Additionally, gather fasteners—bolts and nuts that correspond with your chosen material type. You may need an assortment of lengths depending on the design of your wagon. Finally, confirm you have any additional materials like paint or sealant to protect your new tongue from the elements. By preparing these tools and materials beforehand, you'll set yourself up for a successful replacement process.
Detach the Old Tongue
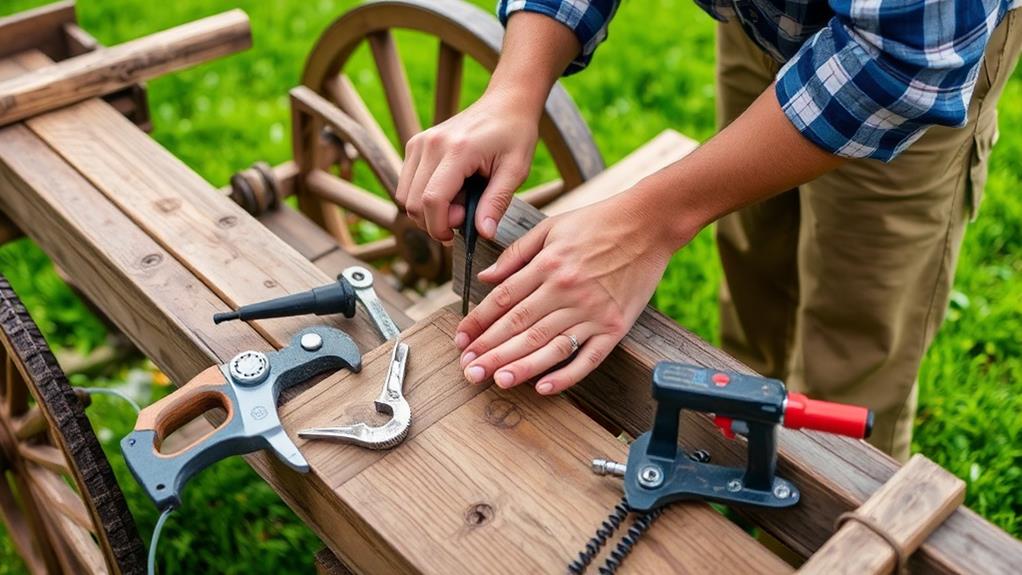
Start by positioning the wagon securely on a flat surface to guarantee stability during your work. This foundational step is vital for overall wagon safety as you'll be handling heavy components. Next, inspect the old tongue for any visible fasteners, such as bolts or screws. Using a wrench or screwdriver, carefully remove these fasteners as you keep them organized for potential future use or disposal.
Once the fasteners are removed, gently lift the tongue away from the wagon frame. If you encounter any resistance, check for hidden fasteners or rust buildup, as these can impede the removal process. If necessary, use a penetrating lubricant to ease the separation. Remember, proper tongue maintenance not only extends the life of your wagon, but it also improves safety.
Before proceeding, double-check that all fasteners are removed and that the tongue is free from any debris. This diligence will guarantee a smooth changeover to the next steps in your replacement process. By taking the time to detach the old tongue carefully, you're setting the stage for a successful replacement and maintaining the integrity of your wagon for future adventures.
Install the New Wagon Tongue
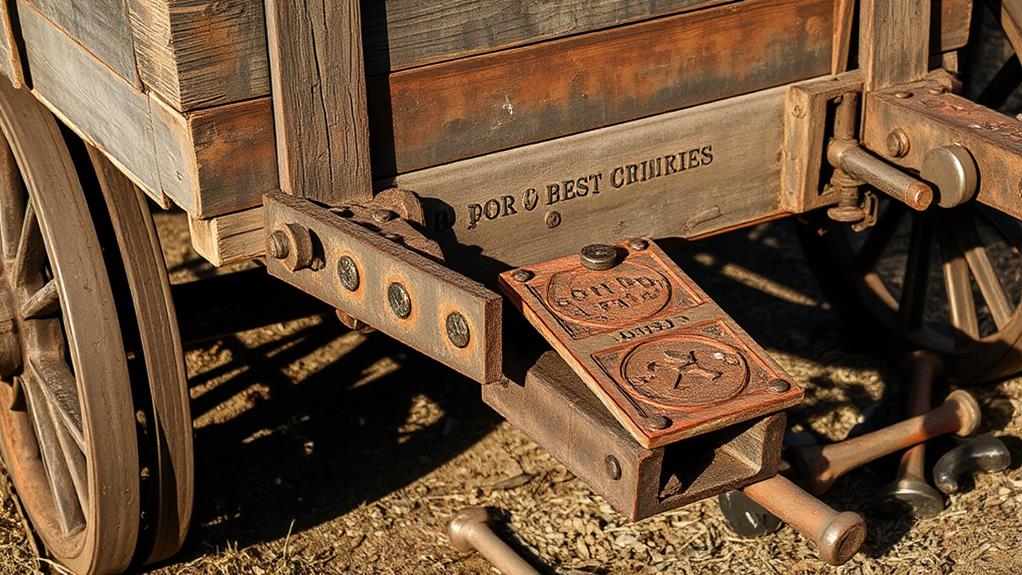
With the old tongue removed, you're ready to install the new wagon tongue securely. Begin by selecting high-quality tongue materials, such as hardwood or steel, to guarantee durability and performance. Position the new tongue into the mounting bracket, aligning it with the pre-drilled holes. Confirm the tongue is level and straight; this is critical for balance during use.
Next, insert the bolts through the holes and tighten them with a wrench. It's crucial to follow the manufacturer's specifications for torque settings, confirming a snug fit without over-tightening, which could compromise the materials. Once you've secured the tongue, double-check the alignment and stability.
For ongoing performance, consider these maintenance tips: regularly inspect the bolts for tightness, and apply a rust inhibitor to metal tongues to prevent corrosion. If you're using a wooden tongue, treat it with a weather-resistant sealant to prolong its lifespan. After installation, take a moment to appreciate the freedom that a well-maintained wagon provides. The right installation not only improves your wagon's performance but also guarantees your adventures are safe and enjoyable.
Test and Secure the Replacement
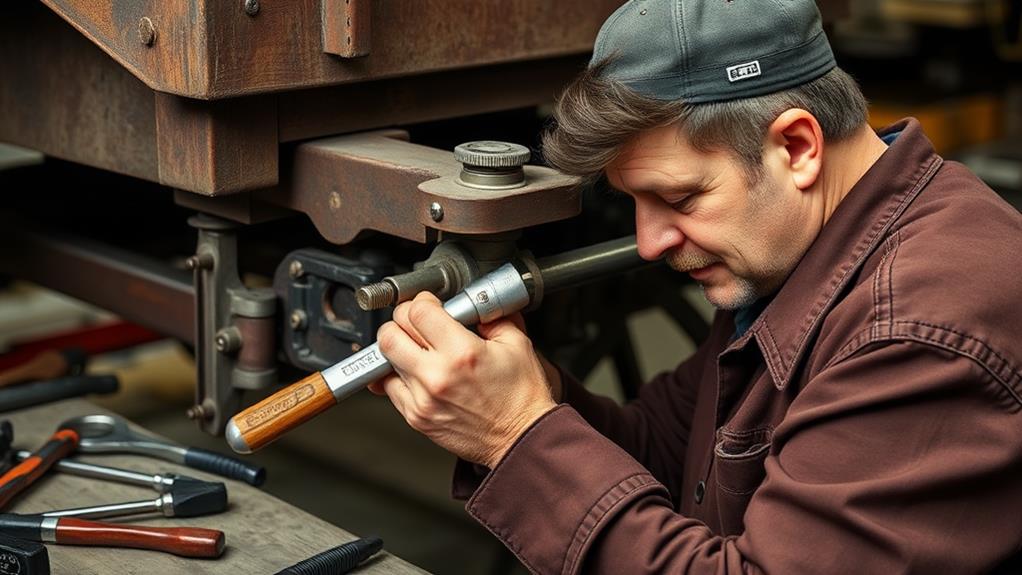
After securing the new wagon tongue, the next step involves testing and securing the replacement to confirm it functions correctly under load. Begin by inspecting the tongue alignment. Verify it's properly centered and parallel with the trailer frame. Misalignment can cause uneven wear or failure during operation.
Next, perform a load test. Attach the wagon to a suitable towing vehicle, verifying it's in a flat area to avoid complications. Gradually apply weight to the wagon, monitoring how the new tongue responds. Listen for any unusual noises or signs of instability, as these could indicate improper installation or alignment issues.
While testing, always adhere to safety precautions. Wear appropriate personal protective equipment, such as gloves and safety glasses, and confirm no one is standing near the wagon during the load test.
Once you've confirmed the tongue's performance under load, secure all attachments, checking nuts and bolts for tightness. Consider using locking nuts or thread-locking adhesive for added security. Finally, double-check the tongue alignment one last time before taking your wagon on the road. This confirms you're ready for a safe and enjoyable expedition ahead.
Frequently Asked Questions
What Materials Are Best for a Durable Wagon Tongue?
When considering tongue materials for your wagon, you'll want to prioritize durability factors like strength and resistance to wear. Hardwood, such as oak or ash, offers excellent sturdiness and longevity. For a more lightweight option, aluminum can provide good corrosion resistance whilst maintaining strength. If you're looking for flexibility, reinforced composite materials may work well, combining weight savings with durability. Always verify the chosen material aligns with your specific usage and weight considerations.
How Do I Know if My Wagon Tongue Needs Replacing?
As you traverse the winding roads of craftsmanship, keep an eye on your wagon tongue. Signs of deterioration can be subtle, like whispers on the wind. Check for cracks, bends, or excessive wear—these are red flags. If it wobbles during use or fails to connect securely, it's time to act. Regular maintenance tips include inspecting joints and reinforcing weak areas, ensuring your freedom on the road isn't compromised by a faulty tongue.
Can I Replace a Wagon Tongue Without Professional Help?
Yes, you can replace a wagon tongue without professional help if you're comfortable with DIY wagon repairs. First, gather the necessary tools and materials. Remove the old tongue carefully, noting any connections. Measure the new tongue to guarantee it fits properly. Secure it using appropriate fasteners, and check for stability. For ongoing wagon maintenance tips, regularly inspect connections and wear to prolong the lifespan of your wagon. With patience, you can achieve this successfully.
What Safety Precautions Should I Take During Replacement?
When replacing your wagon tongue, it's essential to prioritize safety. Always wear appropriate safety gear, including gloves and goggles, to protect against debris and sharp edges. Make certain the area is clear of hazards and use proper tools for the job. Follow maintenance tips to check the integrity of surrounding components. By taking these precautions, you can enjoy the freedom of making repairs during minimizing risks to yourself and your equipment.
How Long Does It Typically Take to Replace a Wagon Tongue?
When you're considering the time estimate for a wagon tongue replacement, it usually takes about 2 to 4 hours, depending on your experience and the complexity of the replacement process. If you're familiar with the tools and materials needed, you can streamline your efforts. Nevertheless, if you're new to this task, it might take longer as you learn the specifics. Always make certain you have everything prepared before starting to optimize your time.