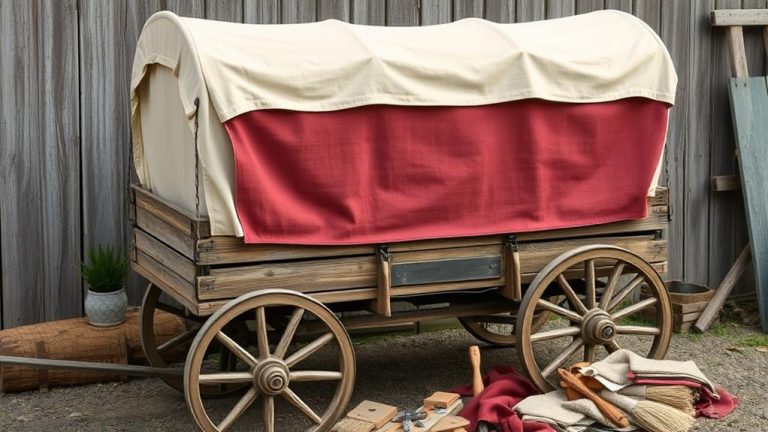
To replace your covered wagon's canvas easily, start by evaluating the current canvas for wear and waterproof capability. Choose a durable fabric like heavy-duty cotton duck or polyester for longevity. Gather crucial tools including a heavy-duty sewing machine and staple gun. Carefully remove the old canvas and measure your wagon's dimensions before cutting the new canvas. Center it over the frame, securing with the staple gun. Guarantee a tight fit and reinforce seams for durability. Regular maintenance will keep the new canvas in great condition, and there's more to explore about installation tips and care techniques.
Assessing Your Current Canvas
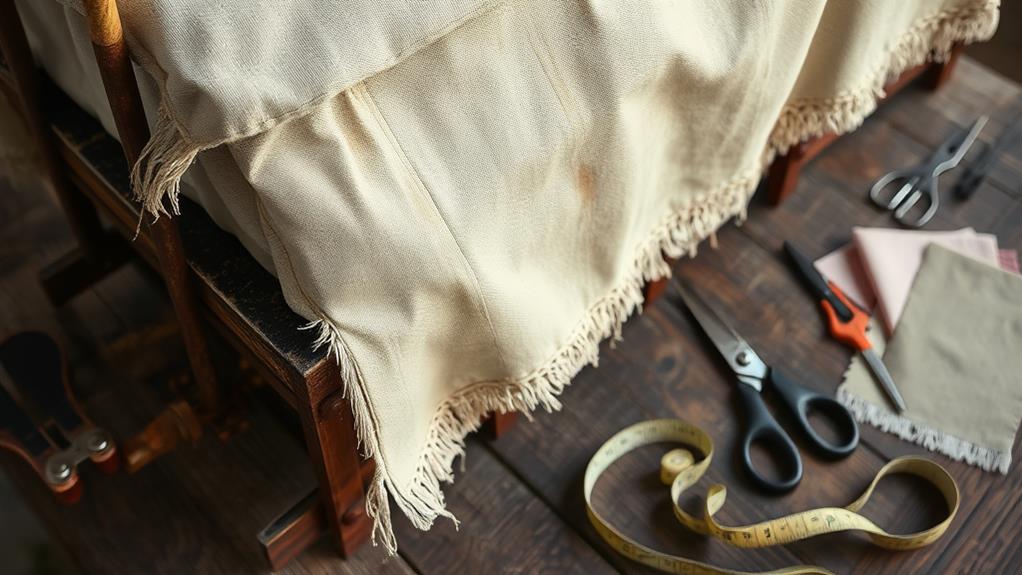
Before you begin replacing your covered wagon's canvas, it's vital to assess the current state of the material. Start by inspecting the canvas condition thoroughly. Look for any visible signs of wear, such as fraying edges, holes, or discoloration. These wear indicators can greatly affect the performance and durability of your canvas.
Next, check for any areas where the canvas has lost its waterproof capabilities. You can do this by spraying water on the surface; if it seeps through, that's a clear sign the canvas needs replacement. Moreover, examine the stitching and seams, as these are often the first places to show signs of deterioration.
Make sure to assess the overall integrity of the framework as well; a solid structure is vital for supporting a new canvas. Take notes on all the issues you identify, as this will help you determine not just if you need a new canvas but likewise what type will suit your needs best. By conducting this thorough assessment, you guarantee that your covered wagon remains a reliable companion on your path toward freedom. If the framework shows signs of significant wear or instability, consider upgrading to a more durable option, such as a steel frame cargo wagon, which offers enhanced strength and longevity. Investing in a sturdier foundation ensures that your wagon can withstand the demands of the journey ahead. A well-supported canvas, paired with a reliable structure, will keep your supplies secure and protected in all conditions.
Choosing the Right Material
Selecting the right material for your covered wagon's canvas is crucial for ensuring durability and performance. When you're choosing fabric, consider options like heavy-duty cotton duck, polyester, or canvas blends, as these materials offer superior fabric durability. Each type has its strengths; for example, polyester is resistant to UV fading, whereas cotton provides breathability.
Next, think about color selection. Lighter colors can help reflect sunlight, keeping the interior cooler during hot days. Nonetheless, darker shades might be preferable if you want to mask dirt or wear over time. Keep in mind that some colors may likewise fade faster than others, so choose wisely based on your travel environment.
Furthermore, consider the weight of the material. A heavier fabric will typically provide better protection against the elements, but it might be more challenging to handle during installation. Always weigh the pros and cons of each option against your specific needs and preferences.
Ultimately, the right fabric and color choice not only improves the aesthetic appeal of your wagon but equally contributes to your freedom on the road, allowing for adventures without worrying about the durability of your canvas.
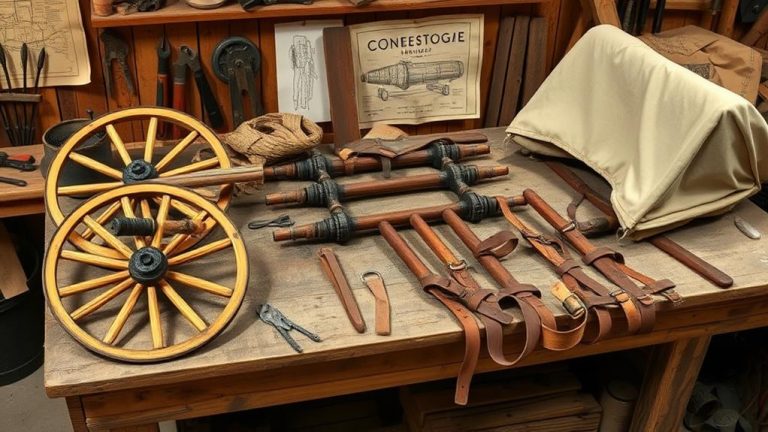
Tools and Supplies Needed

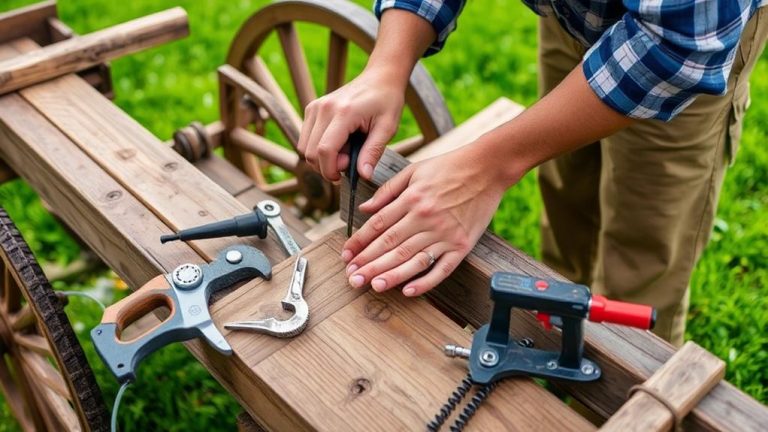
Before you start replacing your covered wagon's canvas, you'll need to gather crucial tools and supplies. Make certain you have a list of the required tools and consider the various canvas material options available for your project. This preparation will guarantee a smoother and more efficient replacement process.
Essential Tools Required
To successfully replace your covered wagon's canvas, you'll need to gather a specific set of tools and supplies that guarantee the process runs smoothly. Proper canvas care and effective sewing techniques are crucial for confirming your new canvas withstands the elements and lasts for years. Here's a handy table of important tools you'll want to have on hand:
| Tool | Purpose | Notes |
|---|---|---|
| Heavy-duty sewing machine | For stitching the canvas pieces together | Confirm it handles thick fabric |
| Canvas needles | To easily pierce through the fabric | Use with heavy-duty thread |
| Measuring tape | For accurate measurements of the canvas | Double-check dimensions |
Additionally, you'll need scissors for cutting the canvas, a staple gun for securing edges, and a hammer if you're using tacks. Don't forget to have a seam ripper on hand in case you need to make adjustments. By assembling these tools before you start, you'll streamline your canvas replacement process and embrace the freedom of your covered wagon adventures.
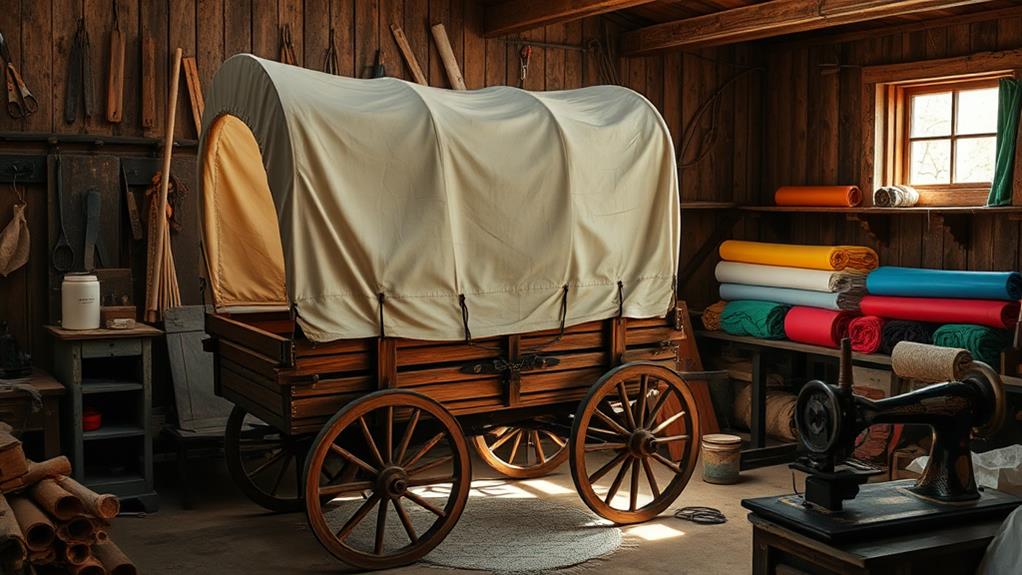
Canvas Material Options
In choosing the right canvas material for your covered wagon, there are several options to assess based on durability, weather resistance, and weight. First, consider cotton canvas, known for its excellent breathability and good canvas durability. It can handle various weather conditions but may require treatment to improve its water resistance.
Next, you might explore synthetic options like polyester or nylon blends. These materials offer superior weather resistance and are typically lighter, making them easier to work with. They're additionally available in a wider range of color options, allowing you to customize your wagon's appearance to fit your style.
Another option is vinyl-coated fabrics, which provide exceptional durability and waterproofing. Although heavier, these materials are perfect for harsh conditions and offer long-lasting protection.
When selecting your canvas, weigh the pros and cons of each option based on your specific needs. Think about how often you'll be traveling, the environments you'll encounter, and the aesthetic you're aiming for. Making an informed choice will guarantee your covered wagon remains a reliable companion on your adventures whilst expressing your unique sense of freedom.
Step-by-Step Replacement Process
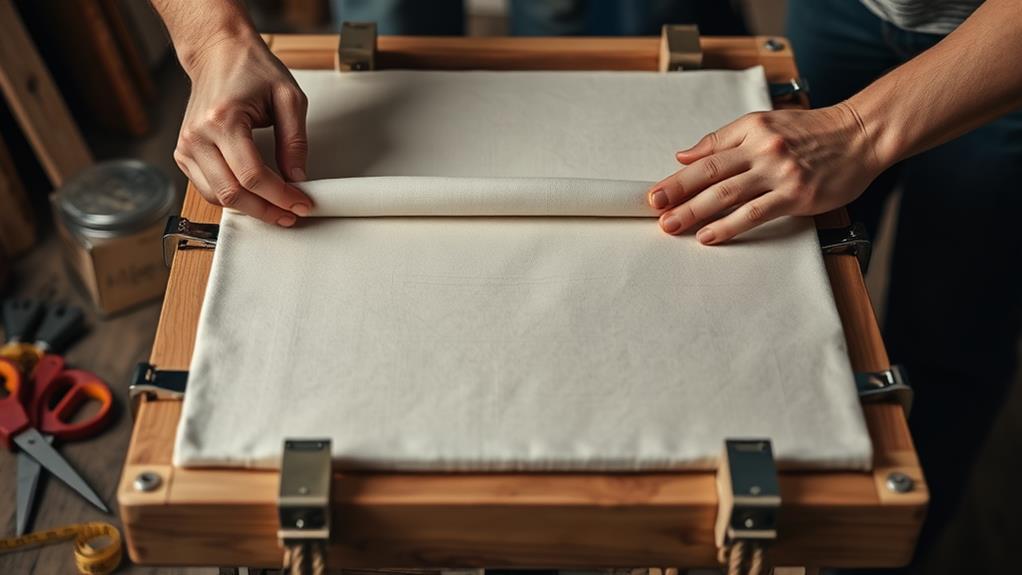
Replacing the canvas on your covered wagon can seem intimidating, but with a structured approach, it becomes manageable. Start by gathering your tools: a tarp, scissors, a measuring tape, and a staple gun.
- Remove Old Canvas: Carefully cut away the old canvas, avoiding damage to the frame. This step is essential for proper canvas maintenance and preserving the historical significance of your wagon.
- Measure and Cut New Canvas: Measure the dimensions of your wagon carefully, then cut your new canvas accordingly.
- Attach New Canvas: Lay the new canvas over the frame, ensuring it's centered. Use your staple gun to secure the canvas, starting from the middle and working outward to avoid wrinkles.
- Trim Excess Canvas: Once secured, trim any excess canvas for a neat finish.
Here's a quick emotional reminder of why you're doing this:
| Action | Feeling |
|---|---|
| Restore your wagon | Pride |
| Embrace freedom | Empowerment |
| Connect with history | Nostalgia |
| Enjoy nature | Joy |
With these steps, you're one step closer to your adventure!
Tips for Proper Installation
When installing the new canvas on your covered wagon, guaranteeing a tight fit is crucial for durability and protection against the elements. Start by gathering all necessary tools and materials, including a measuring tape, scissors, and strong fasteners. Using precise installation techniques will prevent sagging or flapping, which can compromise your wagon's integrity.
Before you begin, double-check the measurements of your wagon frame to confirm the canvas fits properly. A common mistake is assuming all wagons are the same size; variations can lead to a poor fit. Lay the canvas flat and align it with the edges of the frame, securing it temporarily in place.
As you work, gradually tighten the canvas, checking for even tension across the surface. This helps prevent future wear and tear. Don't forget to reinforce the seams and corners with additional fasteners, as these areas are prone to stress.
Maintaining Your New Canvas
To guarantee your new canvas lasts, regular cleaning is essential. Use mild soap and water to remove dirt and debris, and avoid harsh chemicals that can degrade the fabric. Furthermore, proper storage techniques, such as keeping the canvas dry and protected from direct sunlight, will help maintain its integrity over time.
Regular Cleaning Tips
Maintaining your new canvas is vital for prolonging its lifespan and preserving its appearance. Regular cleaning is a key aspect of preventative maintenance that helps you avoid costly replacements down the line. Here are some important cleaning tips to keep your canvas in top condition:
- Gentle Washing: Use a soft brush and lukewarm, soapy water to remove dirt and grime. Avoid harsh chemicals, as they can damage the fabric.
- Stain Removal: For stubborn stains, apply a mixture of mild soap and water directly to the affected area. Gently scrub with a soft cloth, then rinse with clean water to prevent soap residue.
- Drying Properly: After cleaning, allow your canvas to air dry completely before storing. This prevents mildew and prolongs the life of the material.
Proper Storage Techniques
Proper storage techniques are essential for keeping your covered wagon's canvas in ideal condition during downtime. Start by ensuring the canvas is clean and completely dry before folding it. Moisture can lead to mold and mildew, which can compromise the fabric's integrity. Choose a storage location that provides ideal storage conditions: a cool, dry place away from direct sunlight. UV rays can degrade the material over time, so consider using a protective cover when storing your canvas.
To prevent any potential damage, avoid placing heavy items on top of the canvas. This can create creases and weaken the fabric. Instead, store it flat or rolled up loosely to maintain its shape. Using breathable storage bags or containers can additionally help protect against dust and pests while allowing airflow.
Implementing these preventative measures will extend the lifespan of your canvas, ensuring it's ready for your next adventure. By following these guidelines, you can enjoy the freedom of the open road without worrying about the condition of your covered wagon's canvas. Keep these storage techniques in mind, and your canvas will remain in prime condition for years to come.
Frequently Asked Questions
How Often Should I Replace My Covered Wagon's Canvas?
You should replace your covered wagon's canvas every 5 to 7 years, depending on usage and exposure to elements. Regular canvas maintenance tips include cleaning and treating the fabric to prevent mold and wear. Keep an eye on any signs of damage or fading, as these can indicate it's time for a replacement. Proper covered wagon care guarantees longevity and maintains its appearance, allowing you to enjoy your adventures without worrying about your gear.
Can I Repair Small Tears Instead of Full Replacement?
Did you know that nearly 25% of covered wagon owners opt for tear repair over full replacements? If you're facing small tears, you can definitely repair them instead of going for a complete canvas replacement. Regular canvas maintenance, including patching minor damages, can extend the life of your wagon's cover considerably. Use a strong adhesive patch for best results, ensuring it's properly sealed to maintain durability against the elements.
What Is the Lifespan of a New Canvas?
The lifespan of a new canvas largely depends on its quality and how well you maintain it. Typically, high-quality canvases can last anywhere from 5 to 15 years. To maximize longevity, follow maintenance tips like cleaning regularly, applying waterproofing treatments, and storing it properly during off-seasons. By taking these steps, you can guarantee your canvas remains durable and functional, allowing you to enjoy your adventures without worrying about wear and tear.
How Do I Store the Canvas During Winter?
How much do you value your canvas care? To guarantee your canvas lasts, proper winter storage is essential. First, clean it thoroughly to prevent mold and mildew. Once dry, fold it neatly and store it in a cool, dry place, ideally in a breathable bag or container. Avoid damp areas to keep it intact. By taking these steps, you're not just preserving your canvas, but likewise safeguarding your freedom to explore when warmer weather returns.
Are There Any Waterproofing Treatments Recommended After Installation?
After installation, it's crucial to take into account waterproofing options to protect your canvas. You could use a spray-on waterproofing treatment tailored for fabrics, which creates a barrier against moisture. Moreover, regular maintenance tips include checking for wear and tear and reapplying the treatment annually. This approach not solely extends the life of your canvas but likewise guarantees you enjoy your outdoor adventures without the worry of leaks or damage.